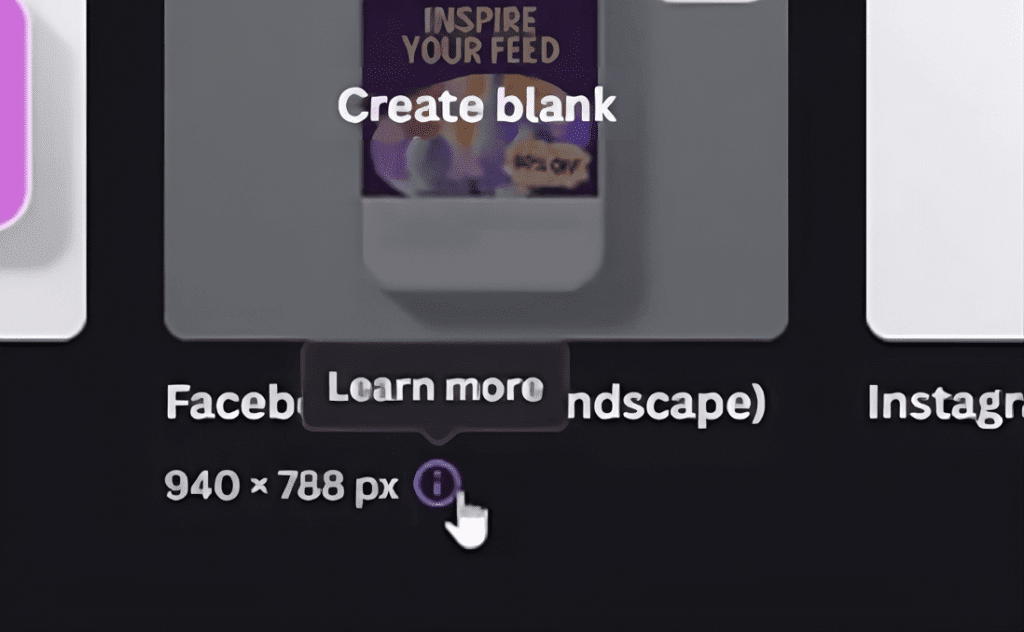
Tooltips are a great way to provide additional information or descriptions for elements on a webpage. In this tutorial, we’ll explore how to create a simple tooltip using HTML and CSS. We’ll keep it lightweight and easy to implement for your projects. In HTML, you can use the title attribute to create a tooltip for an element. The title attribute is commonly used with elements like <a>, <img>, and others. Here’s an example of how you can use the title attribute to create a tooltip:
Getting Started
Let’s start with a basic HTML structure and a little bit of styling to set the stage:
<!DOCTYPE html>
<html lang="en">
<head>
<meta charset="UTF-8">
<meta name="viewport" content="width=device-width, initial-scale=1.0">
<title>Tool Tip</title>
<style>
body{
background-color: #1e1c27;
position: absolute;
left: 20px;
}
</style>
</head>
<body>
<span title="viral coder">👨💻</span>
</body>
</html>In this example, we have a simple webpage with a character emoji wrapped in a <span> tag. The title attribute of the <span> tag holds the content we want to display in our tooltip.
Styling the Tooltip
Now, let’s add CSS to style our tooltip and make it visually appealing:
/* Add this to the existing style tag in the head section */
span {
    position: relative;
    display: inline-block;
    cursor: pointer;
}

span::before {
    content: attr(title);
    position: absolute;
    background-color: #333;
    color: #fff;
    padding: 8px;
    border-radius: 4px;
    opacity: 0;
    visibility: hidden;
    transition: opacity 0.3s ease, visibility 0.3s ease;
}

span:hover::before {
    opacity: 1;
    visibility: visible;
}This CSS introduces a new style for the <span> tag and utilizes the ::before pseudo-element to create the tooltip. Here’s what each part does:
- The
spanstyle sets the position to relative and makes it an inline-block to contain the tooltip. - The
span::beforestyle sets the content of the tooltip to the value of thetitleattribute. It also defines the background color, text color, padding, border radius, and initial opacity and visibility properties. - The
span:hover::beforestyle changes the opacity and visibility when the<span>is hovered, making the tooltip appear.
Conclusion
You’ve just created a simple tooltip using HTML and CSS! This lightweight solution adds a nice touch to your webpage, providing additional information when users hover over an element.
Feel free to customize the styles further based on your project’s design. You can experiment with colors, sizes, and transitions to make the tooltip match your overall theme.
It’s important to note that the title attribute should be used judiciously and is primarily intended for short, supplementary information. Overusing it can lead to a poor user experience, as tooltips might cover important content.
Ensure that the content inside the title attribute is concise, relevant, and provides helpful information to users. Additionally, keep in mind that some accessibility tools may not fully support or convey the information from the title attribute, so it’s recommended to use other accessible methods for conveying crucial information.
Happy coding! 👩💻🚀

